
09 Nov How to save stuck together splint material
Admit it. You’ve lost one or two splints over the years because the material folded and stuck together and became a big plastic mess! We all know how busy clinic life can get, but when you think about the cost of thermoplastic splint materials, it’s worth taking the time to save a splint if you can. Understanding the properties of the materials you are working with is key. After spending a weekend with Debby Schwartz from Orfit, we are very excited by all the tips and tricks we learned regarding Orfit products – including how to rescue a splint gone wrong! Here are a few tips:
- Know if your materials are coated or uncoated. When activated, coated materials will stick together allowing you to fabricate your orthosis until it sets. Once cooled, any areas that overlap can be “popped” open. In order to “weld” the pieces together, you need to scratch the coating of the material and reheat with the heat gun until sticky. Once both pieces have been heated and become sticky, they will be bonded for life! Uncoated materials will stick together from the start, so you might not be able to separate an area that has overlapped.
- Make sure to use two hands when removing from the splint pan. If you try to lift a piece of splint material with one hand, it will have a tendency to flap/fold over and stick. Using two hands (one at each corner) ensures the material comes out of the water and stays flat.
- When drying, lay flat on a pillow case and then pat dry with a towel. Towels have small fibers that can get caught in sticky splint materials. Avoid this problem (and subsequent stretching of your material when you try to peel it off the towel), by laying it down on a pillow case instead.
- Work in stages and sections. If you need to prepare your splint prior to fabricating, i.e. create a thumbhole, only heat the portion of the material you need to work with rather than the entire piece. This way you will have a firm section to hold onto while working with the activated section.
- Stay cool with cold water! Mistakes happen – no problem! Coated splint material can be very forgiving if you give it a chance to cool. Have a cold water bucket nearby or simply run cold water over your mangled splint to harden it. Once cooled, you can “pop” the stuck pieces together and prepare for a rescue mission!
How to save stuck together splint material:
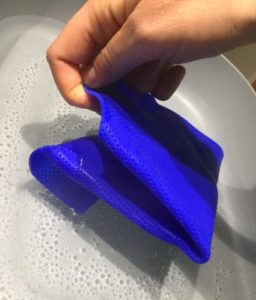
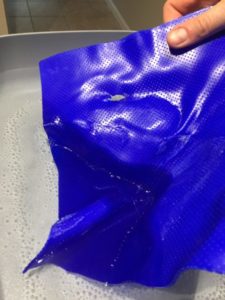
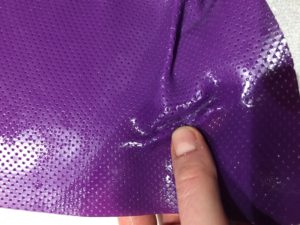
First, “pop” open or release folds of the material. Then dip one fold/section of material into the splint pan, using gravity to help draw the material down away from the rest:
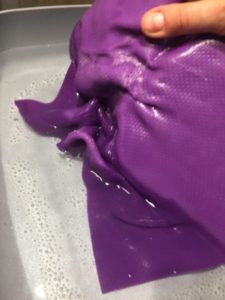
Allow this section to harden before moving on to the next fold. If your material has memory, you can even stretch the material if needed, knowing that once it’s unfolded a final dip will bring it back to it’s original shape.
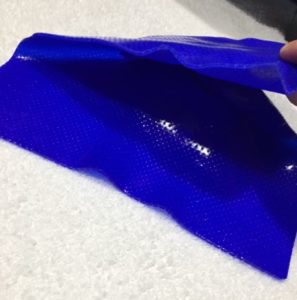
Continue this process until you can lay the splint material flat again, and then do a final dunk to straighten everything out. Remember to use two hands to lift back out of the pan.
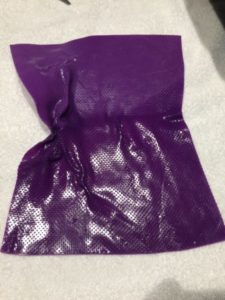
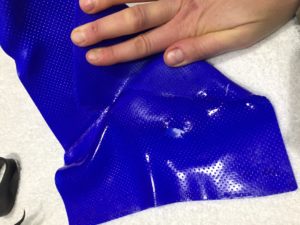
The final product is splint material that you can reuse (or re-stick) again and again! Voila!
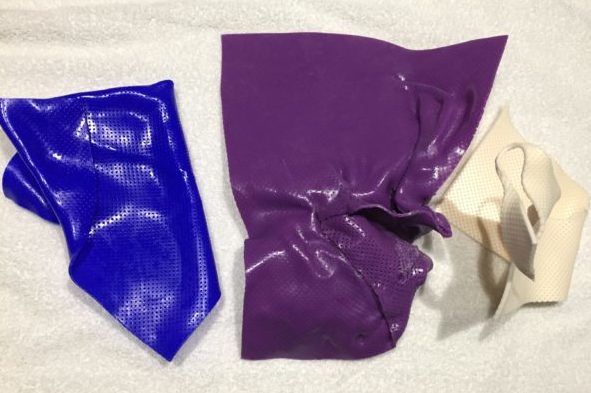
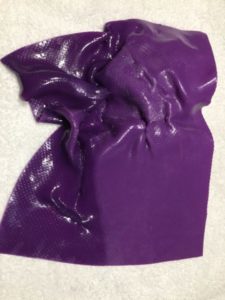
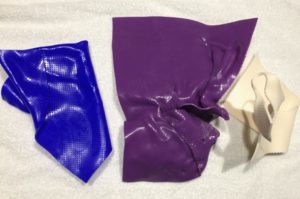 Before
 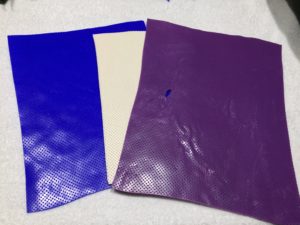 After
After